
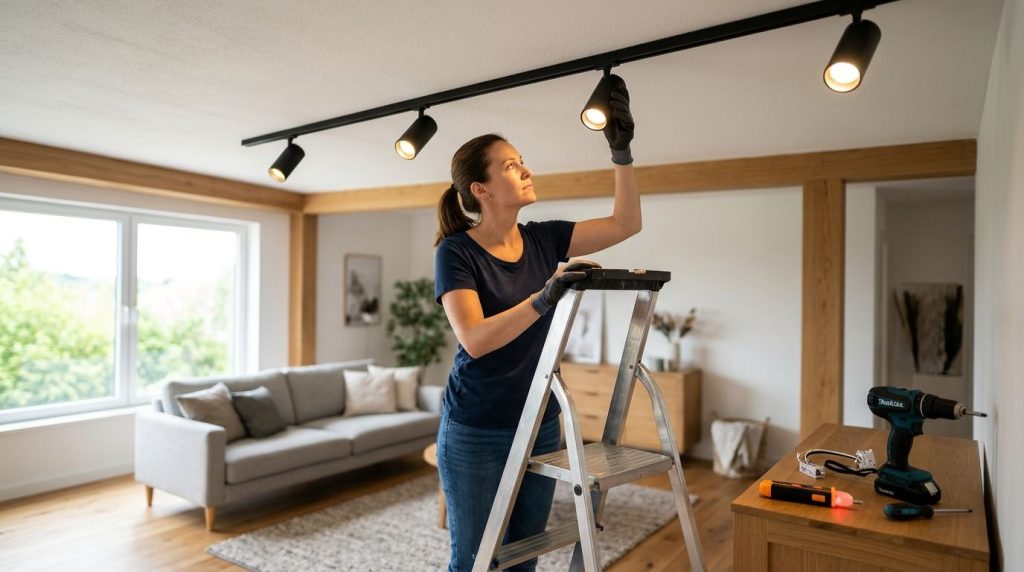
Table of Contents
Vanoopee LED Track Light Installation Instructions
Installing Vanoopee LED track lights requires careful planning to ensure safety and compliance with electrical code rules. This guide covers layout planning, mounting, wiring, and fixture attachment for a secure installation.
Track lighting must be installed permanently on a branch circuit that is not over the track’s rating, and with track-specific fittings that allow both polarity and grounding continuity. It can’t be installed in wet, damp or corrosive areas, nor may it extend through the wall. Minimum mounting height is five feet above the finished floor unless the track is physically protected from damage, or operating at low voltage. Sections four feet or shorter require two supports, with one additional support added for each section in continuous rows.
Before you start, collect all the proper tools, hardware and safety equipment to make the installation go smoothly.
Key Takeaways
- Before you start your Vanoopee LED track light installation, take steps to ensure that everything goes smoothly and meets the code.
- Do not touch any wire or track until you disable the circuit.
- With the power turned off from the previous step, now it’s time to mount the track rail to the ceiling.
- With the track rail mounted solidly in step 3, we now move on to wiring the live end feed to provide power to the track system.
- After the live-end feed has been wired and the track is powered up and ready, our next move is to mount each head and its adapter to the rail.
Preparing Tools, Hardware, and Safety Measures
Before you start your Vanoopee LED track light installation, take steps to ensure that everything goes smoothly and meets the code. Make sure your planned location will be at least five feet above the finished floor unless the track is protected or low voltage. Check that the branch circuit is not larger than the rating on the track. Collect the necessary track fittings that maintain polarization and grounding continuity.
Get yourself some tools like voltage tester, drill, screwdriver, ladder, and wire strippers. Turn the power off at the breaker and use your voltage tester to make sure it is off prior to working with wires. Find out what type of supports you need for the project you are doing: for instance, sections that are up to four feet long need two supports, while continuous rows require one additional support per section. Read the instructions in your Vanoopee LED track light manual about your particular model to know the specifics on how many pieces come in the box and what hardware is needed.
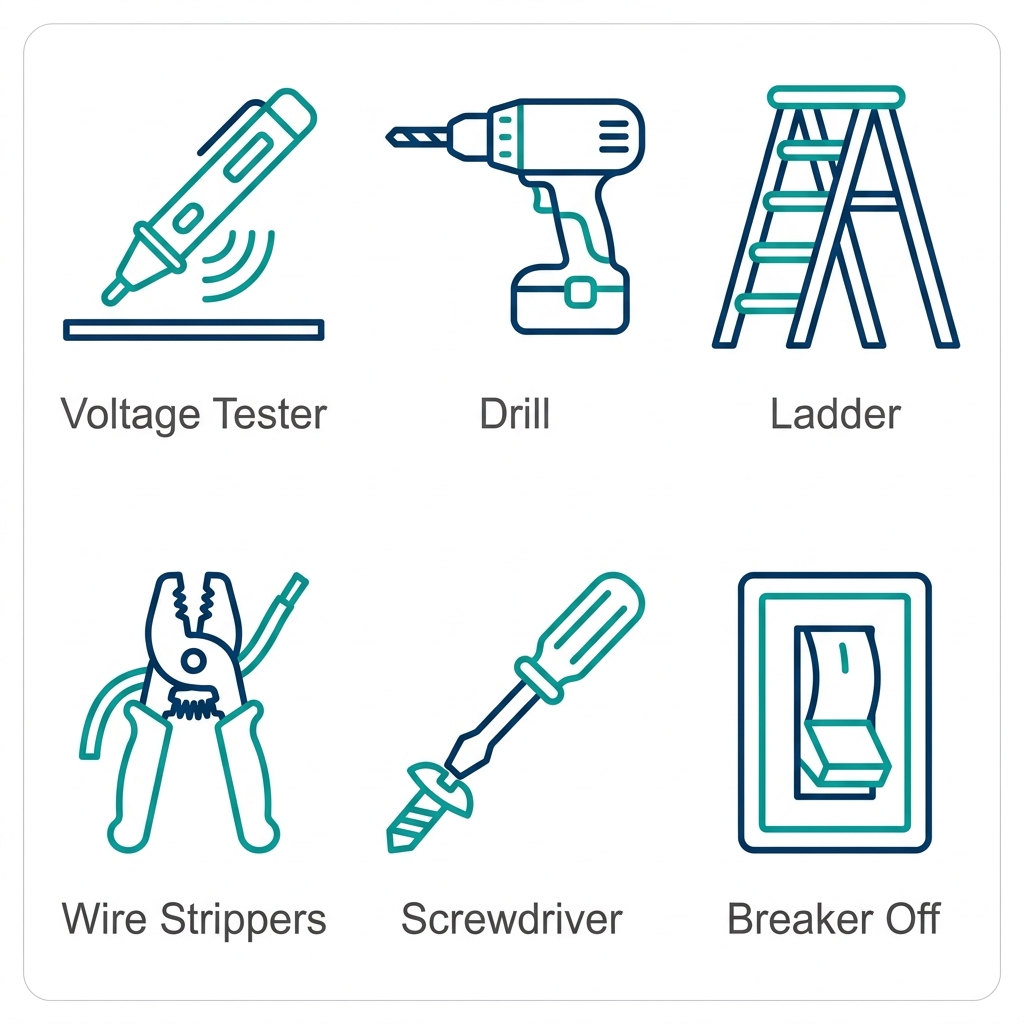
Now that tools are gathered and safety measures are in place, the next step is determining exactly where to place the rail on the ceiling.
Step 1: Plan Rail Placement and Mark the Ceiling
With the workspace prepped and safety measures in place, measure the desired track run on the ceiling with a level and pencil, ensuring the path follows solid framing such as joists rather than unsupported drywall. Mark the exact positions for the power feed, connectors, and each mounting hole before any drilling begins, aligning the layout with the support requirements.
The building codes will determine how your track is supported; each four-foot or less section will need two supports and continuous rows will need one extra support per added section. The track should be mounted at least five feet above the finished floor (unless physically protected, or operating on low voltage). Avoid any wet, damp or corrosive areas such as above showers or outside, and do not run tracks through walls, as this is prohibited by code.
Mark the layout then make sure the power to the work area is off at the electrical panel before continuing.
Step 2: Shut Off Power at the Circuit Breaker
Do not touch any wire or track until you disable the circuit. As per the industry advice, disconnect the circuit from the breaker before inspecting or repairing it as this will prevent electric shock.
Locate the breaker panel in your Marina del Rey home and find the circuit breaker for the track lighting. Turn it off, then lock or label the panel to avoid accidentally switching it back on. Check for power at the ceiling junction box using a non-contact voltage tester to make sure that the circuit has been de-energized before beginning to work on the track or wiring itself. This step helps ensure there are no undetected electrical problems that could cause the lights to flicker, as flickering often signals underlying connection issues that require a safe environment to diagnose properly.
Step 3: Mount the Track Rail to the Ceiling
With the power turned off from the previous step, now it’s time to mount the track rail to the ceiling. Just like most Vanoopee LED track light installation instructions, the rail must be mounted permanently and aligned to code.
There must be two supports for track sections that are four feet or less, with an additional support required for each extra section in continuous rows. The minimum mounting height above the finished floor is five feet unless the track is physically protected or operates at low voltage (less than 30 volts rms). It’s not allowed to install in wet, damp or corrosive locations, and the track cannot run through walls.
Mark your support points, locate your ceiling structure, or fit suitable anchors, then secure the rail. Make sure the rail is rigid and level before moving on to wiring the live end feed in the next step.
Step 4: Wire the Live End Feed
With the track rail mounted solidly in step 3, we now move on to wiring the live end feed to provide power to the track system.
First, turn off power to the circuit at its breaker and check that the wires are dead using a non-contact voltage tester. Connect the circuit’s ungrounded (hot) conductor to the track’s live feed terminal, the grounded (neutral) conductor to the track’s neutral terminal, and the grounding conductor to the track’s ground terminal. Be sure all connections are tight and feed wires are routed neatly and without strain.
Install per code: Branch circuit can’t be larger than the track’s ampacity, and feed must come from a junction box located in a dry, non-corrosive location. Live end can’t pass through walls or other concealed spaces so you’ll have to locate the junction box appropriately before feeding into the track.
Step 5: Seat the Track Heads and Adapters
After the live-end feed has been wired and the track is powered up and ready, our next move is to mount each head and its adapter to the rail. We’ll start by positioning the adapter’s contact levers in line with the track’s groove so they align with the conductive strips. According to the manufacturer’s Vanoopee LED track light installation instructions, turn the head clockwise until it locks onto the track channel, hearing a click which indicates it’s securely locked.
There should be a solid connection between the head, adapter and conductive track rail that will prevent the flickering due to contact intermittently made. If the heads feel loose in any way, or seem as though they are only seated part way in, reseat them immediately. Loose connections can cause flickering with track lighting. The circuit breaker should remain turned off while you work through this to avoid getting shocked, or having shorts.
Step 6: Restore Power and Test the System
Once all the track heads and adapters are in place and seated correctly, turn the power back on at the circuit breaker as opposed to the single switch. Flip the breaker to the “on” position and then turn the track lights on from the wall switch to test for the first time.
You should expect full, steady light in all your fixtures. If a head begins to flicker, reseat the bulb firmly and make certain that the track head makes solid contact with the rail. Flickering often means that the head has become loose and the contacts have oxidized, especially in LED systems. If your system is set up for dimming, make certain your dimmer is LED compatible; older dimmers often create flickering because they’re not designed for LED circuits.
If the lights keep flickering on multiple heads after reseating, power down immediately and check the connections again. If problems persist, a licensed electrician may need to inspect them to prevent electrical hazards. Never turn your breaker back on if it has been tripped repeatedly – shut it off and find the problem before you try to energize the circuit again.
Step 7: Adjust Head Positioning and Verify Compatibility
Once you have completed the Vanoopee LED track light installation instructions up until now, the final thing to do is adjust the head positioning and make sure your track light fits into the system.
First make sure the head fitting is snugly in place and properly aligned with the polarization of the track. Ensure the grounding conductor is still connected and has continuity at the connection point for safety. Next check that the wattage of the head doesn’t exceed the track’s rated capacity; the branch circuit feeding the track must be within its limits. Move the head into position as needed, then double-check to ensure the mounting height is a minimum of five feet above the finished floor unless the track is physically protected or operates at low voltage.
Quick verification checklist:
- Fitting seated and aligned
- Polarization correct
- Grounding continuity confirmed
- Load within track rating
Once all checks pass, the system is verified and ready for operation.
Troubleshooting Flickering After Installation
Even after you followed the LED track light installation instructions like the Vanoopee’s, some people notice that their new lights are still flickering. This is usually due to something forgotten about the electricity and not because of a faulty installation.
First, turn off the circuit breaker at the panel to avoid the risk of shocks before you can inspect other components. Remove the track heads and use a dry, lint-free cloth or pencil eraser to clean the electrical contacts and bus bars to remove oxidation that has built up and can block a solid connection. If this does not stop the flickering, it could be because an older dimmer that was made for incandescent bulbs is being used to control low-wattage LEDs. Upgrading to an LED compatible dimmer will likely solve this problem. Don’t combine halogen and LED bulbs in the same circuit since the difference in their thermal and electrical properties can lead to increased flicker.
If multiple fixtures are flickering at the same time, particularly when large appliances are turning on, then the issue might be voltage drops or faulty building wiring, rather than faulty fixtures. If flickering persists after performing basic checks and repairs, a licensed electrician should be called to inspect wiring issues and ensure compliance with codes. Track lights will flicker when there’s an intermittent interruption of electricity flowing through them, which often means that electrical continuity has failed somewhere along the line. Dirty or corroded contact points between the track head and rail may be the cause.
Frequently Asked Questions
How do I correctly mount the Vanoopee LED track rail to my ceiling?
Mount the Vanoopee LED track rail permanently to the ceiling with at least two supports for sections four feet or shorter. Ensure the track is at least five feet above the finished floor unless it is physically protected or operates at low voltage. Avoid wet, damp, or corrosive areas and do not run the track through walls.
What should I do if my Vanoopee track lights are flickering after installation?
Flickering usually results from loose connections or oxidized contacts. Turn off the circuit, clean the track heads and bus bars with a dry cloth, and reseat the heads firmly. If flickering persists, check for an incompatible dimmer or consult a licensed electrician.
What is the recommended way to wire the live end feed for a Vanoopee track lighting kit?
Connect the circuit’s hot wire to the track’s live feed terminal, the neutral wire to the neutral terminal, and the grounding wire to the ground terminal. Ensure all connections are tight and the branch circuit does not exceed the track’s rated capacity.
Safe Track Lighting and When to Call a Licensed Electrician
If the lights continue to flicker even after you have done some troubleshooting, this probably means there’s a more serious problem that you can’t fix on your own as a homeowner. According to electrical code, track lighting must be permanently attached to a branch circuit at a capacity that the circuit will handle, properly grounded, and should never be placed in any kind of wet, damp or corrosive environment. Five feet above the finished floor is required for safety, except when the track is physically protected from the elements or uses low voltage.
If problems go beyond maintenance, contacting a local licensed electrician in Marina del Rey or elsewhere in the Los Angeles area provides peace of mind. This site offers a free service to introduce homeowners to vetted independent contractors; verify each electrician’s license and insurance through the California Contractors State License Board before hiring. All contractors listed are independent, and this site does not warrant or guarantee any work performed. Photos and videos on this site feature actors or models, not actual contractors, and all content is copyrighted and trademarked as displayed.
Get Help from Local Electricians
You now have the full Vanoopee LED track light installation process laid out, from planning the rail layout and cutting power at the breaker to wiring the live end feed, seating the heads, and testing the system. Following the code requirements covered above, such as proper grounding, minimum mounting height, and support spacing, keeps the project safe and compliant. If flickering persists after reseating bulbs and cleaning the track contacts, it may point to a deeper wiring issue that deserves professional attention. Homeowners in Marina del Rey, California and the greater Los Angeles area can connect with local independent electrical contractors through Marina del Rey Top Electricians, a free connection service. Remember that verifying a contractor’s license and insurance is your responsibility as the homeowner. To discuss track lighting installation or an inspection, call (424) 365-8015.